Eclipse で AndEngine を使う方法は、よく見るが、Android Studio での場合は、あまり見かけなかったので、紹介しておきます。
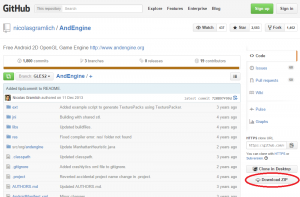
まずは、GitHub から AndEngine をダウンロードします。
リンク先の右下にある「Download ZIP」をクリックすればダウンロードできます。
https://github.com/nicolasgramlich/AndEngine
ダウンロードが終わったら、適当な場所に解凍します。
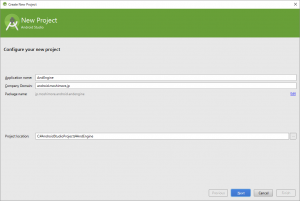
次に Android Studio を起動し、新しいプロジェクトを作成します。
今回は、適当にプロジェクト名をAndEngneで作成しました。
プロジェクトのMinimum SDKは、API 9を指定しました。
ただし、インポートするAndEngineプロジェクトのMinimumは、API 15以上なので、Android SDK Managerで、予めインストールしておく必要があります。
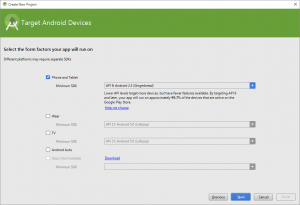
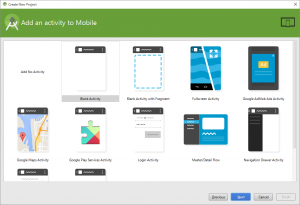
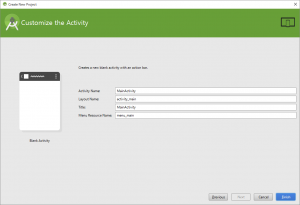
Blank Activityを指定しました。
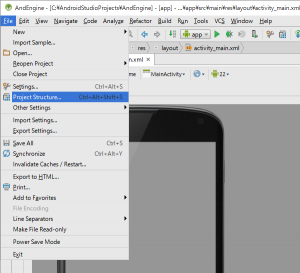
プロジェクトの作成が終わったら、メニューの [File] → [Project Structure…] をクリックします。
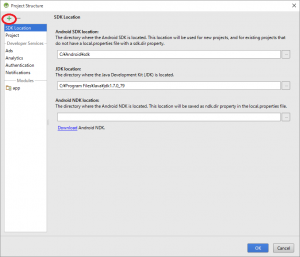
表示されたウィンドウの左上のにある緑色の [+] をクリックします。
「Import Eclipse ADT Project」を選択します。
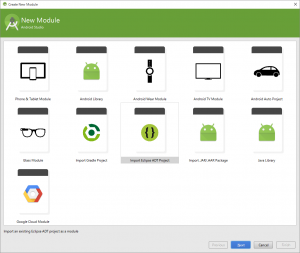
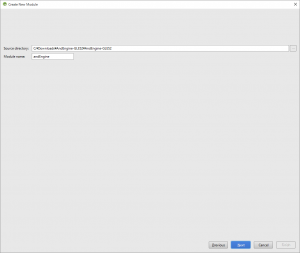
「Source directory」に解凍したAndEngineのフォルダを指定します。
デフォルトのままで、進みます。
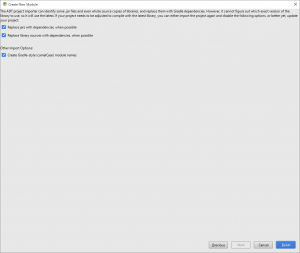
The ADT project importer can identify some .jar files and even whole source copies of libraries, and replace them with Gradle dependencies. However, it cannot figure out which exact version of the library to use, so it will use the latest. If your project needs to be adjusted to compile with the latest library, you can either import the project again and disable the following options, or better yet, update your project.
Replace jars with dependencies, when possible
Replace library sources with dependencies, when possibleOther Import Options:
Create Gradle-style(camelCase) module names
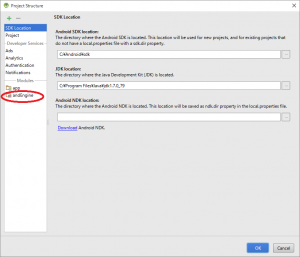
「Modules」に「AndEngine」が追加されていることを確認します。
(NDKのエラーなどが発生している場合は、追加されませんが、そのまま進めてください。)
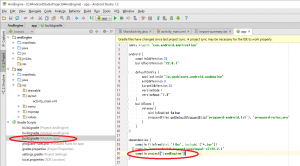
「build.gradle(Module: app)」を開き、dependenciesに以下を追加します。
ファイル一覧に表示されない場合は、作成したプロジェクトの中にあるbuild.gradleを開き、dependenciesに以下を追加します。
compile project(‘:andEngine’)
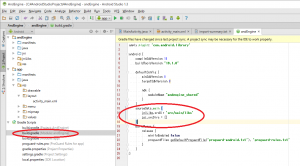
「build.gradle(Module: andEngine)」を開き、sourceSetsを追加します。
ファイルの一覧に表示されていない場合は、インポートしたandEngineの中にあるbuild.gradleを開き、sourceSetsを追加します。
sourceSets.main {
jniLibs.srcDir ‘src/main/libs’
jni.srcDirs = []
}
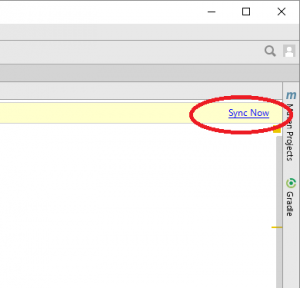
最後に右上に表示されている「Sync Now」をクリックします。
以上で、Android Studio で、AndEngine が使えるようになりました。
次のエラーが表示された場合は、「gradle.properties」を開き、一番下の行に「android.useDeprecatedNdk=true」を追記します。
Error: NDK integration is deprecated in the current plugin. Consider trying the new experimental plugin. For details, see http://tools.android.com/tech-docs/new-build-system/gradle-experimental. Set “android.useDeprecatedNdk=true” in gradle.properties to continue using the current NDK integration.
# Project-wide Gradle settings.
# IDE (e.g. Android Studio) users:
# Gradle settings configured through the IDE *will override*
# any settings specified in this file.# For more details on how to configure your build environment visit
# http://www.gradle.org/docs/current/userguide/build_environment.html# Specifies the JVM arguments used for the daemon process.
# The setting is particularly useful for tweaking memory settings.
# Default value: -Xmx10248m -XX:MaxPermSize=256m
# org.gradle.jvmargs=-Xmx2048m -XX:MaxPermSize=512m -XX:+HeapDumpOnOutOfMemoryError -Dfile.encoding=UTF-8# When configured, Gradle will run in incubating parallel mode.
# This option should only be used with decoupled projects. More details, visit
# http://www.gradle.org/docs/current/userguide/multi_project_builds.html#sec:decoupled_projects
# org.gradle.parallel=trueandroid.useDeprecatedNdk=true


